
Toile and trouble - how to achieve a good fit
/“Always make a toile” you will hear. The most common response is “I don’t need to do that, I know how to make things and I have a pattern!” This post is about using a toile to make changes to the fundamental pattern shape to acknowledge the differences between real people.
Types of tailoring
If you have read my blog before, you will know that I am enamoured of the Bara system of sizing and adjusting patterns to get close to the right fit for an individual person regardless of their relative shape to the original pattern. The Bara system was a method of calculating the sizes and shapes of tailored patterns in the 16th and 17th centuries, described by a number of Spanish tailors and reviewed and made accessible to modern readers by Mathew Gnagy in his books “The Modern Maker, I and II”
This system appeals to me for many reasons, not least of which is its historical authenticity. In the 17th century, tailors were using new methods to speed up and introduce efficiencies into the making of clothes. However. they were doing this against a backdrop of all hand sewn construction, of most people having their clothes produced by a favourite tailor or at least a local tailor in the town and of fashions that change relatively slowly compared to today’s seasonal fashions. I am keen to try to replicate some of these methods in producing high quality but affordable re-enactment clothing.
One of the methods the tailors used was to have a basic shape for each type of garment, e.g. bodice, doublet, breeches, etc. This basic body shape could be adjusted to have different details and superficial styling but it would fundamentally fit a human body in the basic elements of armhole, bust/chest to waist ratio, neck-line and so on. Using the bara system, this basic shape is altered to the customers specific chest, waist and height statistics.
For the very cheapest clothing, the tailor may have invested up-front in some cheap fabric and created a few of the looser styles, such as coats or skirts, in a few sizes ready to be finished off. When someone said “I want a cheap coat” the tailor would take down the nearest size and then adjust the seams or finish the hems to make them fit a bit better, then finish sealing the linings if required. Hey presto! a coat is sold. This is what we call “off-the peg” because they were originally hung on pegs around the tailor’s workroom.
It was not common, however, for tailors to buy cloth and make things up in advance - that is a large outlay of cost without any certainty of a sale, given the high cost of fabric compared to the low cost (and profitability) of labour in the 17th century. Much more common was what we now call “made to measure”. The customer would choose and buy fabric, lining fabric and other items such as buttons and ribbons. They would take this to a tailor and choose a style - “Can you make it like Lord Soandso’s doublet but in my green fabric?” or “I really like this sketch you have of a bodice here.” The tailor would use the basic pattern shapes that they have hidden away in secret (can’t let another tailor find out how you made Lord Soandso’s doublet!) and adjust it to the shape of this specific customer, using their fabric and refinements to make something unique from this common stock of shapes. A taller collar, a narrower sleeve, a squarer neck-line and so on.
The other major type of clothing production - for the trend setters and the wealthy out there - was what we now call bespoke. Here, the customer and the tailor collaborate on new and unique fundamental body shapes. This is where new fashions come from - it is not a slightly taller collar or a fuller sleeve but a completely different silhouette or shape of clothing - think of the difference between the wheel farthingale of Queen Anne, wife of James the I and VI, in 1605 and the smoother skirt shape of Henrietta Marie, wife of Charles I, in 1633.

Portrait of Anne of Denmark by John de Critz in 1605

Henrietta-Maria by Van Dyke in 1633
So why use a toile?
I have been using the bara system to produce unique, related, made-to-measure clothes for several customers. The rest of this post will focus on mens’ doublets and singlets. I will explain why a toile is very helpful and produces a much better and more comfortable fit.
The bara system relies on the fact that most people conform to a set of related measurements; an idea that, on the whole, stands up to interrogation. For example, a taller person usually has a longer back and longer legs than a shorter person. A man with a wider chest usually has a wider neck - this is the reason that men’s shirts are often sold by collar size, which is the point of tightest fit, rather than the chest size, which is related to the neck but can afford to be a bit looser/tighter.
However, this set of related measurements can only go so far. For two people of the same height, one may have longer legs and shorter back than the other but their overall height is the same. For two people with the same bust size, the size of the chest wall (ribs) may be very different depending on the breast size. These two examples are obvious and can be measured using the inside leg measurement and the bust/under-bust size. However, there are other, more subtle variations that are harder to measure and calculate. It is at this point that a toile provides a very valuable tool for the tailor to identify such variations.
The following three doublets show that, on most occasions, the bara system comes out with a good fit, requiring only small adjustments to things like sleeve length or bottom hem. However, I recently made a singlet for someone with more rounded shoulders than the pattern caters for.
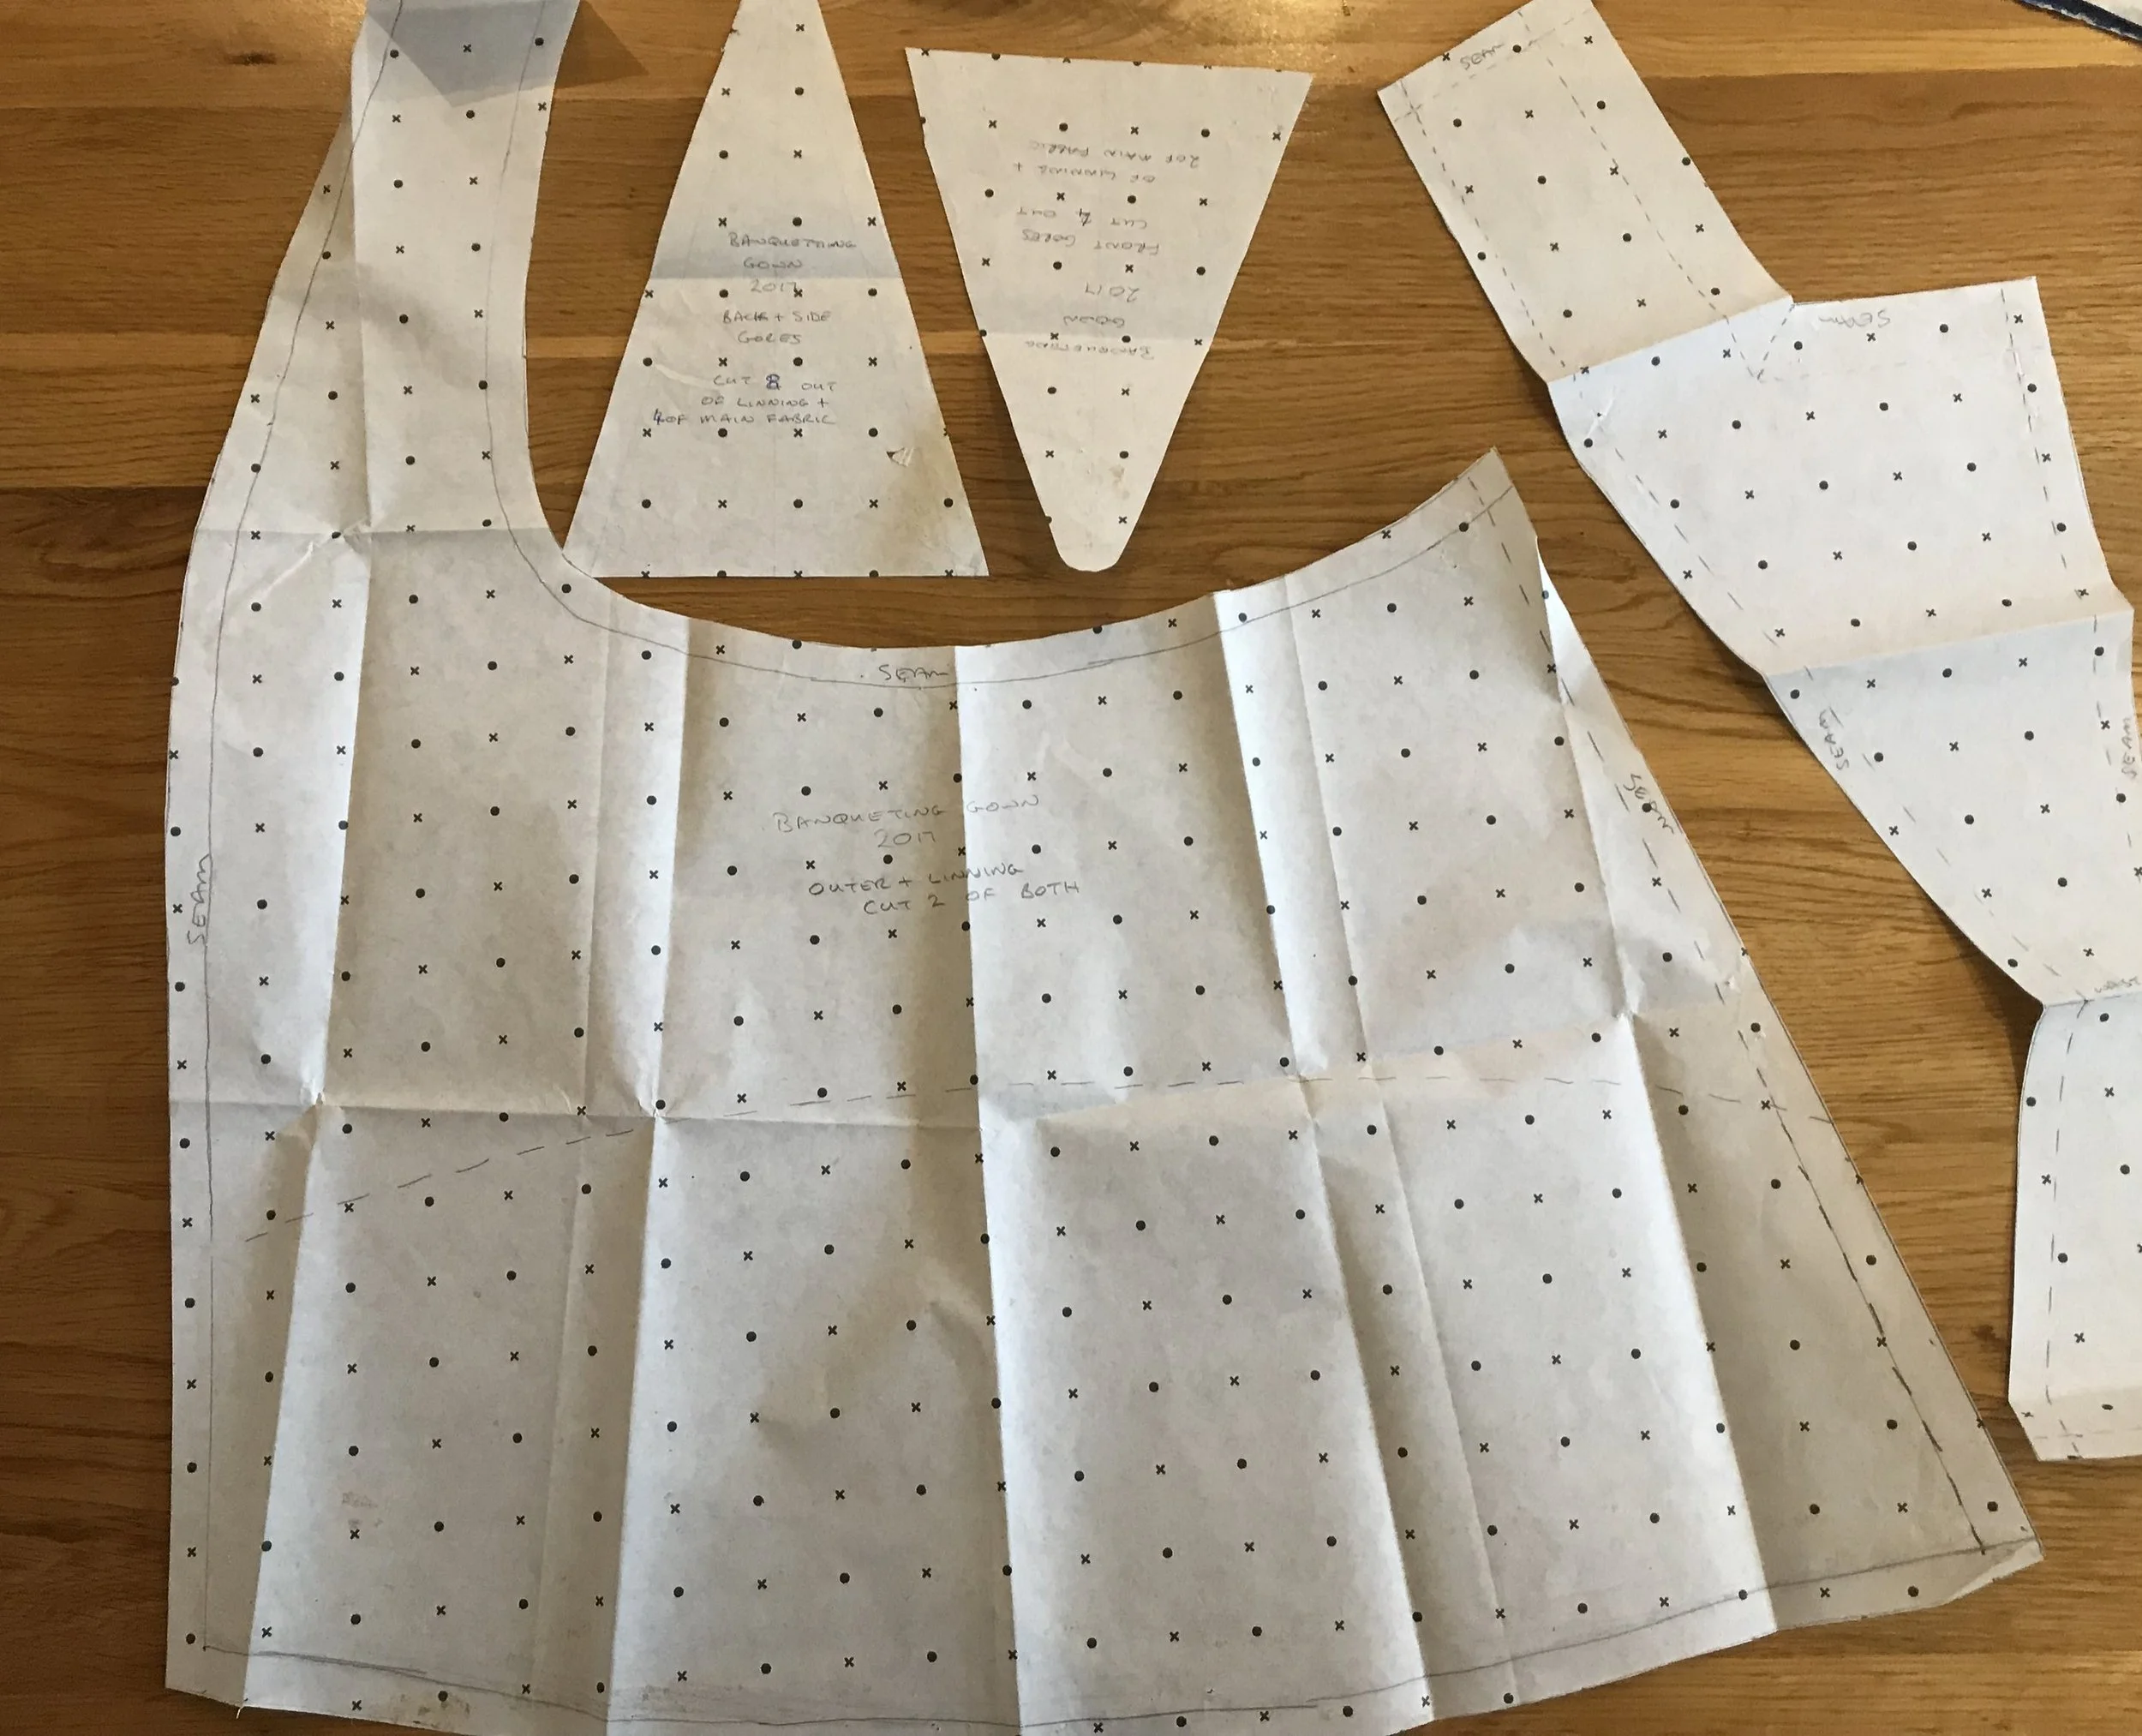
The first photos below show the back view of toiles for two different customers - I did not take side photos as there were no problem with the side fit. The fabric used is ideal for a toile of a structured garment as it does not stretch and it was free. And NO, I will not make Elizabethan or Regency costume from this for you!

Toile during the fitting of a 1630’s high waisted doublet

Toile during the fitting of a 1580’s low waisted doublet
Both were made using the same body shape pattern adjusted using the bara system to the measurements of the owner and with some pattern adjustments, such as the waist line. Each fits well across the shoulders, although the sleeve of the 1580’s one needed to be let out slightly, the waist line of the same one had to be taken in slightly as it was bagging out a little and the chest of the 1630’s one had to he reduced slightly under the arm.
Now compare them to the three photos below of a singlet made from the same basic body shape pattern as the two above. The photos below and the ones at the end of this post are shared with the kind permission of Keith Foster of Prince Maurice’s Regiment of Dragoones.
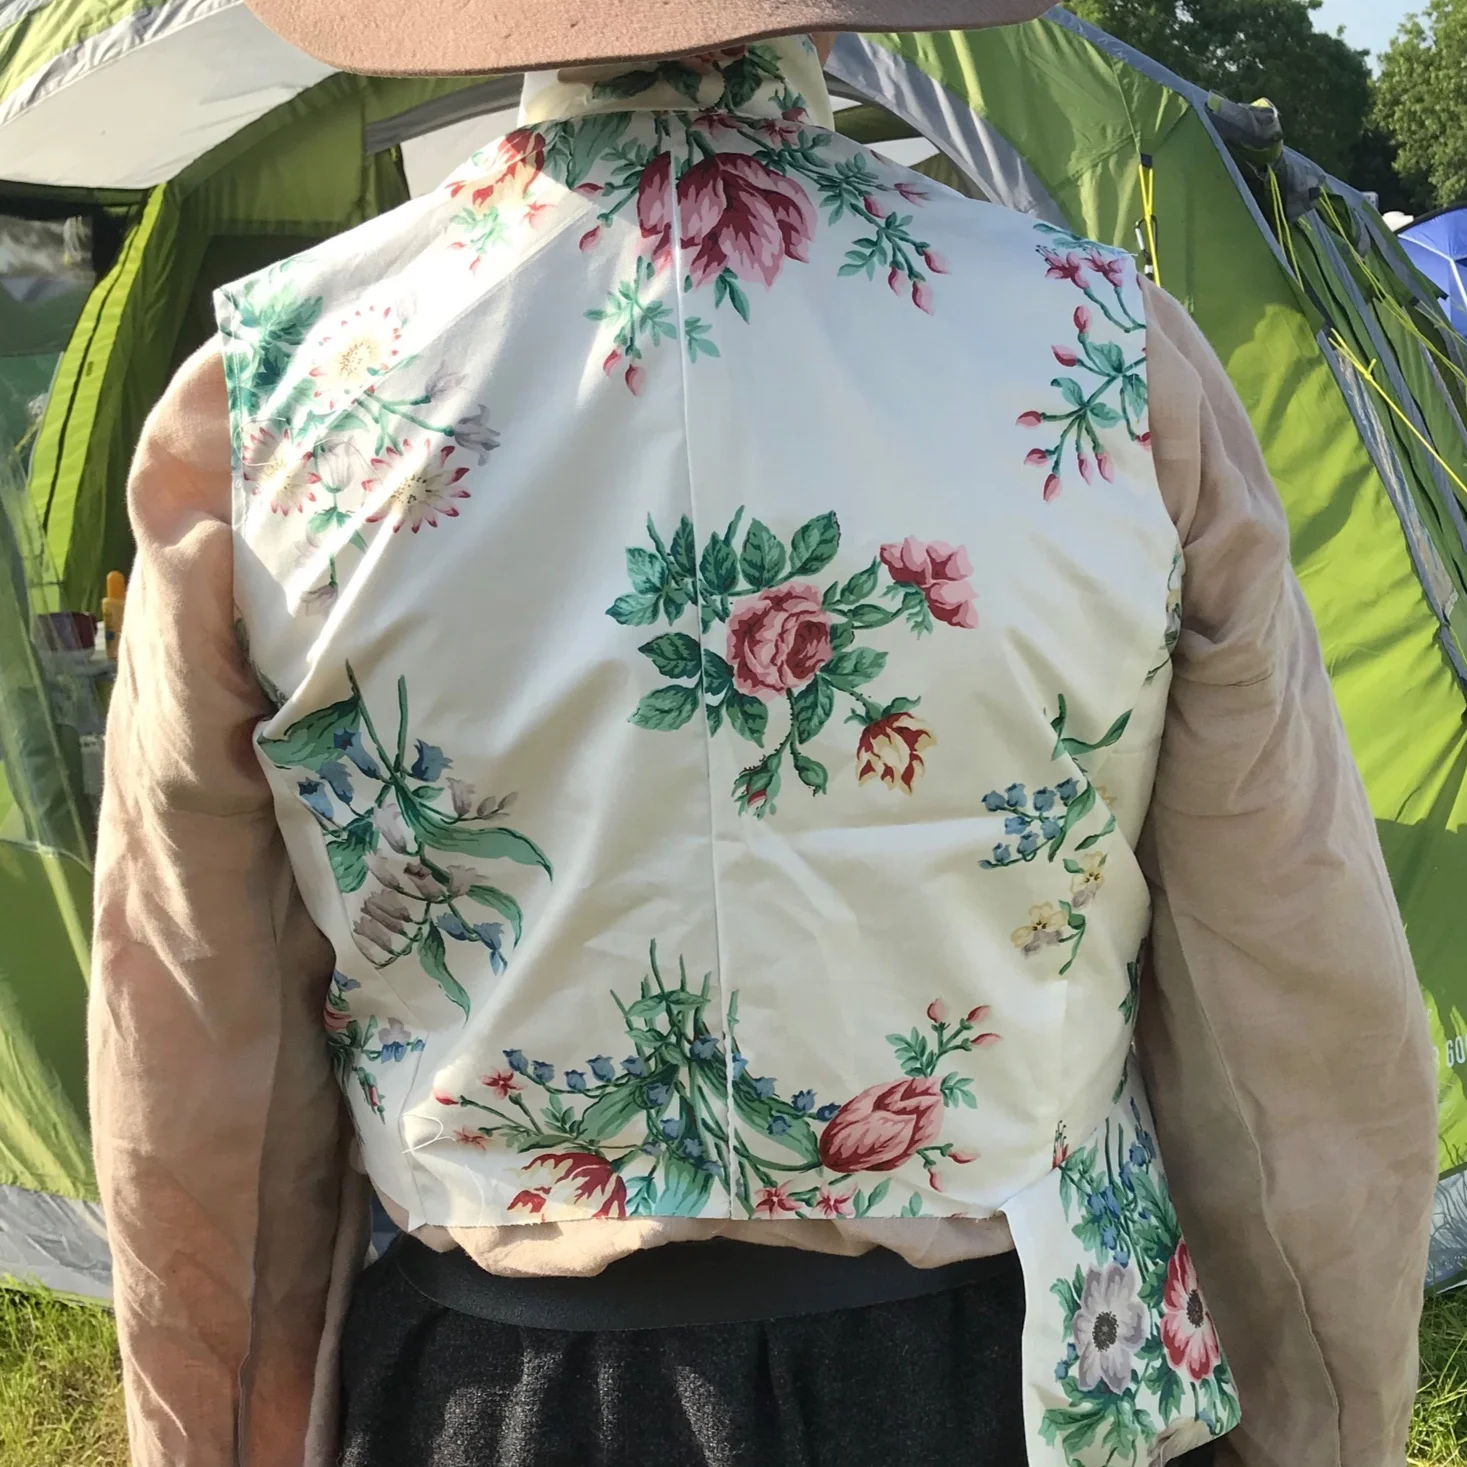
Singlet toile back view

Singlet view on right shoulder

Singlet view on left shoulder
What can be seen above is a poor fit across the back and through the armhole. I learned, somewhere in the past, that to identify where the fabric is pulling because it is too tight, follow the creases - they “point” in the direction of the poor fit. So the tight area here is between the back of the neck seam and the bottom of the underarm. Not visible on these photos, but related to the armhole fit, there were also creases from the front neck to the bottom of the armhole. So one of the adjustments required was to lengthen the line from neck to base of the armhole.
The next issue that is visible is that the shoulder is not wide enough. When making the toile, I had clipped and turned in the armhole, so it should be sitting in the final position but this is clearly too narrow for Keith.
Finally, there is a gap between the top of the armhole and Keith’s shoulder - a place where the shoulder of a well fitting doublet/singlet would be sitting flat on the shoulder. It can be seen that Keith’s natural shoulder position is about an inch further forward than the shoulder seam of the toile. This means that the length across the back needs to be longer than normal and it also changes the shape and depth of the armhole.
In modern clothes, even modern suits, the clothes do not fit so tightly to the shape of the wearer’s body, so it is likely that such minor differences in arrangement of the shoulders has never been noticed. In 17th century clothing however, the fit of the doublet or singlet is very close to the body and it reveals these differences.
Adjustments to correct the fit
In Mathew Gnagy’s book “The Modern Maker Vol I” he gives lots of modern tailor’s tips and hints. One of those is how to adjust the patterns in his books to fit different body shapes within the range of “normal bodies”. Although specific measurements are not given, it was fairly easy to guess how much to adjust the pattern slopes and junctions points from looking at the photos of the fitting.
The singlet had four places where I made changes.
The width in the back - I added 1/2” to each side of the centre back seam. In fact, I did this by using the same pattern but with no seam at that location but with the pattern piece laid on the fabric fold. This widened the neck at the back and extended the width across the shoulders.
The slope of the front shoulder - I left the neck end of the shoulder seam in the same place but dropped the arm end of the shoulder slope by just short of 1”.
The slope of the back shoulder - Again, I left the neck end of the shoulder seam in the same place but this time I raised the arm end till it was nearly but not quite level with the neck. The effect of these last two actions is to bring the shoulder seam forward over the shoulder and add depth to the back of the shoulder.
Increase the inward curve of the armhole and drop the base of the armhole, both by about 1/2”. This widened the armhole at the front while leaving the back of the armhole in the same position but deeper on the body.
The photos below show the final singlet, which had no further fittings before it was completed. All of the issues identified using the toile have successfully been resolved and the singlet is now sitting comfortably and fits well. A success story for taking the time to make up a toile and carry out a fitting before cutting the final fabric!
If you are interested in 16th or 17th century men’s clothes, see our pages on this website.

Singlet from the right

Singlet from the left

Singlet and breeches made as a suit

The back of the singlet and breeches