
A Labour of Love - A 1640's Doublet in Silk
/If you would like to listen to this post instead of reading it, select the link below. Do keep the photos handy though as they are not described in the audio file.
This post starts my next series of posts and will be quite spread out over time, which reflects the history of the garment I will be describing. Three years ago, a book entered our household that started a very slow burn project which is now coming to fruition.
Some background
For many years my husband David and I have made 17th Century costume, both every-day wear for re-enactment and also fancy clothes for wearing to banquets and feasts where no public will see. Banquets allow you to indulge your fantasies of portraying wealthy or high class people that you cannot in be front of the public and to use inauthentic fabrics to achieve a fabulous image of original styles.
A few years ago, David noticed that his current banqueting doublet had “shrunk in the wardrobe” and, although still very smart, was getting a bit boring. He fancied making something new but was not sure what. Then in 2016, I pre-ordered for his birthday the next book in a series that I had come to love. This one is called “17th Century Men’s Dress Patterns”, edited by Susan North, published by Thames and Hudson and the V&A, 2016, and is a feast for the eyes and the imagination. This book is the 3rd in a series about 17th century clothing. It shows in great detail the extant garments that they have studies and also how to construct an exact copy of each one, showing all the fabric layers, the stitches used and the construction methods.
For a few years, the intention to do something was there but not the clarity on what that something was! Then, in 2018, David went to India for work, where he saw and bought some deep crimson silk with a crisp feel to it and a low enough cost to allow a large piece to be bought. This inspired the choice to make a replica of the crimson grosgrain silk doublet from the 17th Century Men’s Dress Patterns book.

Seventeenth century parti-coloured suit with silver braid
Skills and Tailoring
Over the years, I have developed my dress-making skills and passed them on to David and possibly my two sons. These skills, learned from my mother and developed in practice rather than through training were stretched to the limit when making a dress from another one of the books from the V&A. That is because in the 17th Century both men’s and women’s clothes were made by tailors using tailoring skills not by dressmakers using dressmaking skills.
What is the difference? Only approach, method, materials and skills! Tailoring uses structural materials and techniques to make clothes that keep their tailored shape even after they have been taken off. Dressmaking makes soft clothes that drape naturally on the body and lie flat after being taken off.
When David looked closely at what he had to do to achieve the same shapes and structure as the original garment he realised that there was quite a skills gap but he still wanted to have a go.
While he was mulling over how to start this project, David looked for sources of information on these tailoring techniques and came across a reference to the Modern Maker books. He remembered hearing about the first book in the series on the radio and also through an article in our society’s magazine. The first book is a step by step guide to making a specific early 17th Century doublet, using tailoring techniques and all hand stitched. The author, Matthew Gnagy, trained as a tailor and is now an academic interested in history and the use of materials. The theme of the book was Matthew’s translation of 16th and 17th Century Spanish tailor’s manuals based on his research on that topic. The second book in the series contains a large number of patterns interpreted from four original Spanish manuals written between 1588 and 1640.
When these two books arrived in our house, our first excitement was about the bara system of pattern drafting. That, however, was not why David bought them; he bought them for the tailoring skills. It turned out however, that the pattern drafting was the first aspect of the books that we used in creating the new crimson silk doublet.
A New Pattern for an Old Doublet
Looking closely at the pattern for the original grosgrain silk doublet it became obvious very quickly that the original wearer had a very odd build. It was going to be tricky to scale up and adjust this pattern using my normal methods of ratios. This led to a period of considering other doublets on which to base the new one, including serious consideration of a cream silk doublet with a very similar shape but with slashed sleeves and slashed body. Since David’s current banquet doublet has slashed sleeves, he wanted something different. Eventually, he hit on the idea of using one of the 1640 doublet patterns form the Mordern Maker series but using the styling details from the grosgrain doublet.
The main pattern difference between these two doublets is the waist height. The Spanish one has a lower waist, shorter tabs and 10 tabs. The original grosgrain silk doublet has a higher waist, longer tabs and only 8 tabs. So we now had the means of constructing a pattern in the right size for David and the correct shape for the original doublet.

Checking a pattern scaling
At this point, my husband turned into the computer programming mathematician that he is in real life! He looked for and found a set of software that can be programmed with curves, angles, distances and other drafting details. It will draw out the patterns and print them full scale on A1 or A0 paper. The software that he found is called Seamly 2D.
Scaling up the Pattern
Armed with several books, Matthew Gnagy’s interpretation of the bara system and his sketch of a 1640 doublet from an original tailor’s manual, David set about coding the relative dimensions, angles and and curves of the pattern into the software in such a way that you can type in the new person’s waist, chest and height measurement and the software would draw the correct pattern for them. I am sure the software is not new technology, in fact being free I doubt it is even the best of its type, but to me the “coding” language used to describe the control points, the curve locations and the intersection points was mystical and magical! It was not all plain sailing though. It took David some time and a number of iterations to get the programme to do what he wanted.

Printed pattern from the Seamly 2D programme

Doublet body toile
The pattern he was copying was also not quite the one he wanted. He wanted the higher waist of the V&A book, with the longer and fewer tabs. So once he was happy with the coding of the original pattern, he then changed it to resemble the grosgrain silk doublet.
At this point, as you should always do before moving on to expensive fabric, we cut up an old bed sheet and made the toile.
We actually made the sleeves too, although the photo does not show that. The toile revealed some issues with the pattern. Specifically, the way the sleeves fit into the body, which we were mostly able to fix after some argument between us over whether to stick with Matthew’s very flat headed sleeve shape or the shape I am more familiar with which is more rounded. In the end we went with the flat headed design as it seemed to be trying to add a fabric “pouch” at the back of the arm to improve the fit when pulling the arms forward in front of the body.
Cutting Out
Finally, after weeks of tinkering with computer software and printing out patterns, only to go back to the software again, David decided he was ready to move on.
It was back to the Modern Maker 1 book for advice on the order and details of cutting the pattern out. Not as straight forward as my simplistic past would have me believe. Matthew gives not only the order of cutting each layer, but also which layers are full size, which are cut within the seam allowance and which are overly large. He indicates which are cut from the pattern and which are cut from other cut fabric pieces. All of this is intended to help in the assembly process so that the outer layer of silk is stretched over a self-supporting shaped interlining layer.

Pattern drawn out on silk fabric

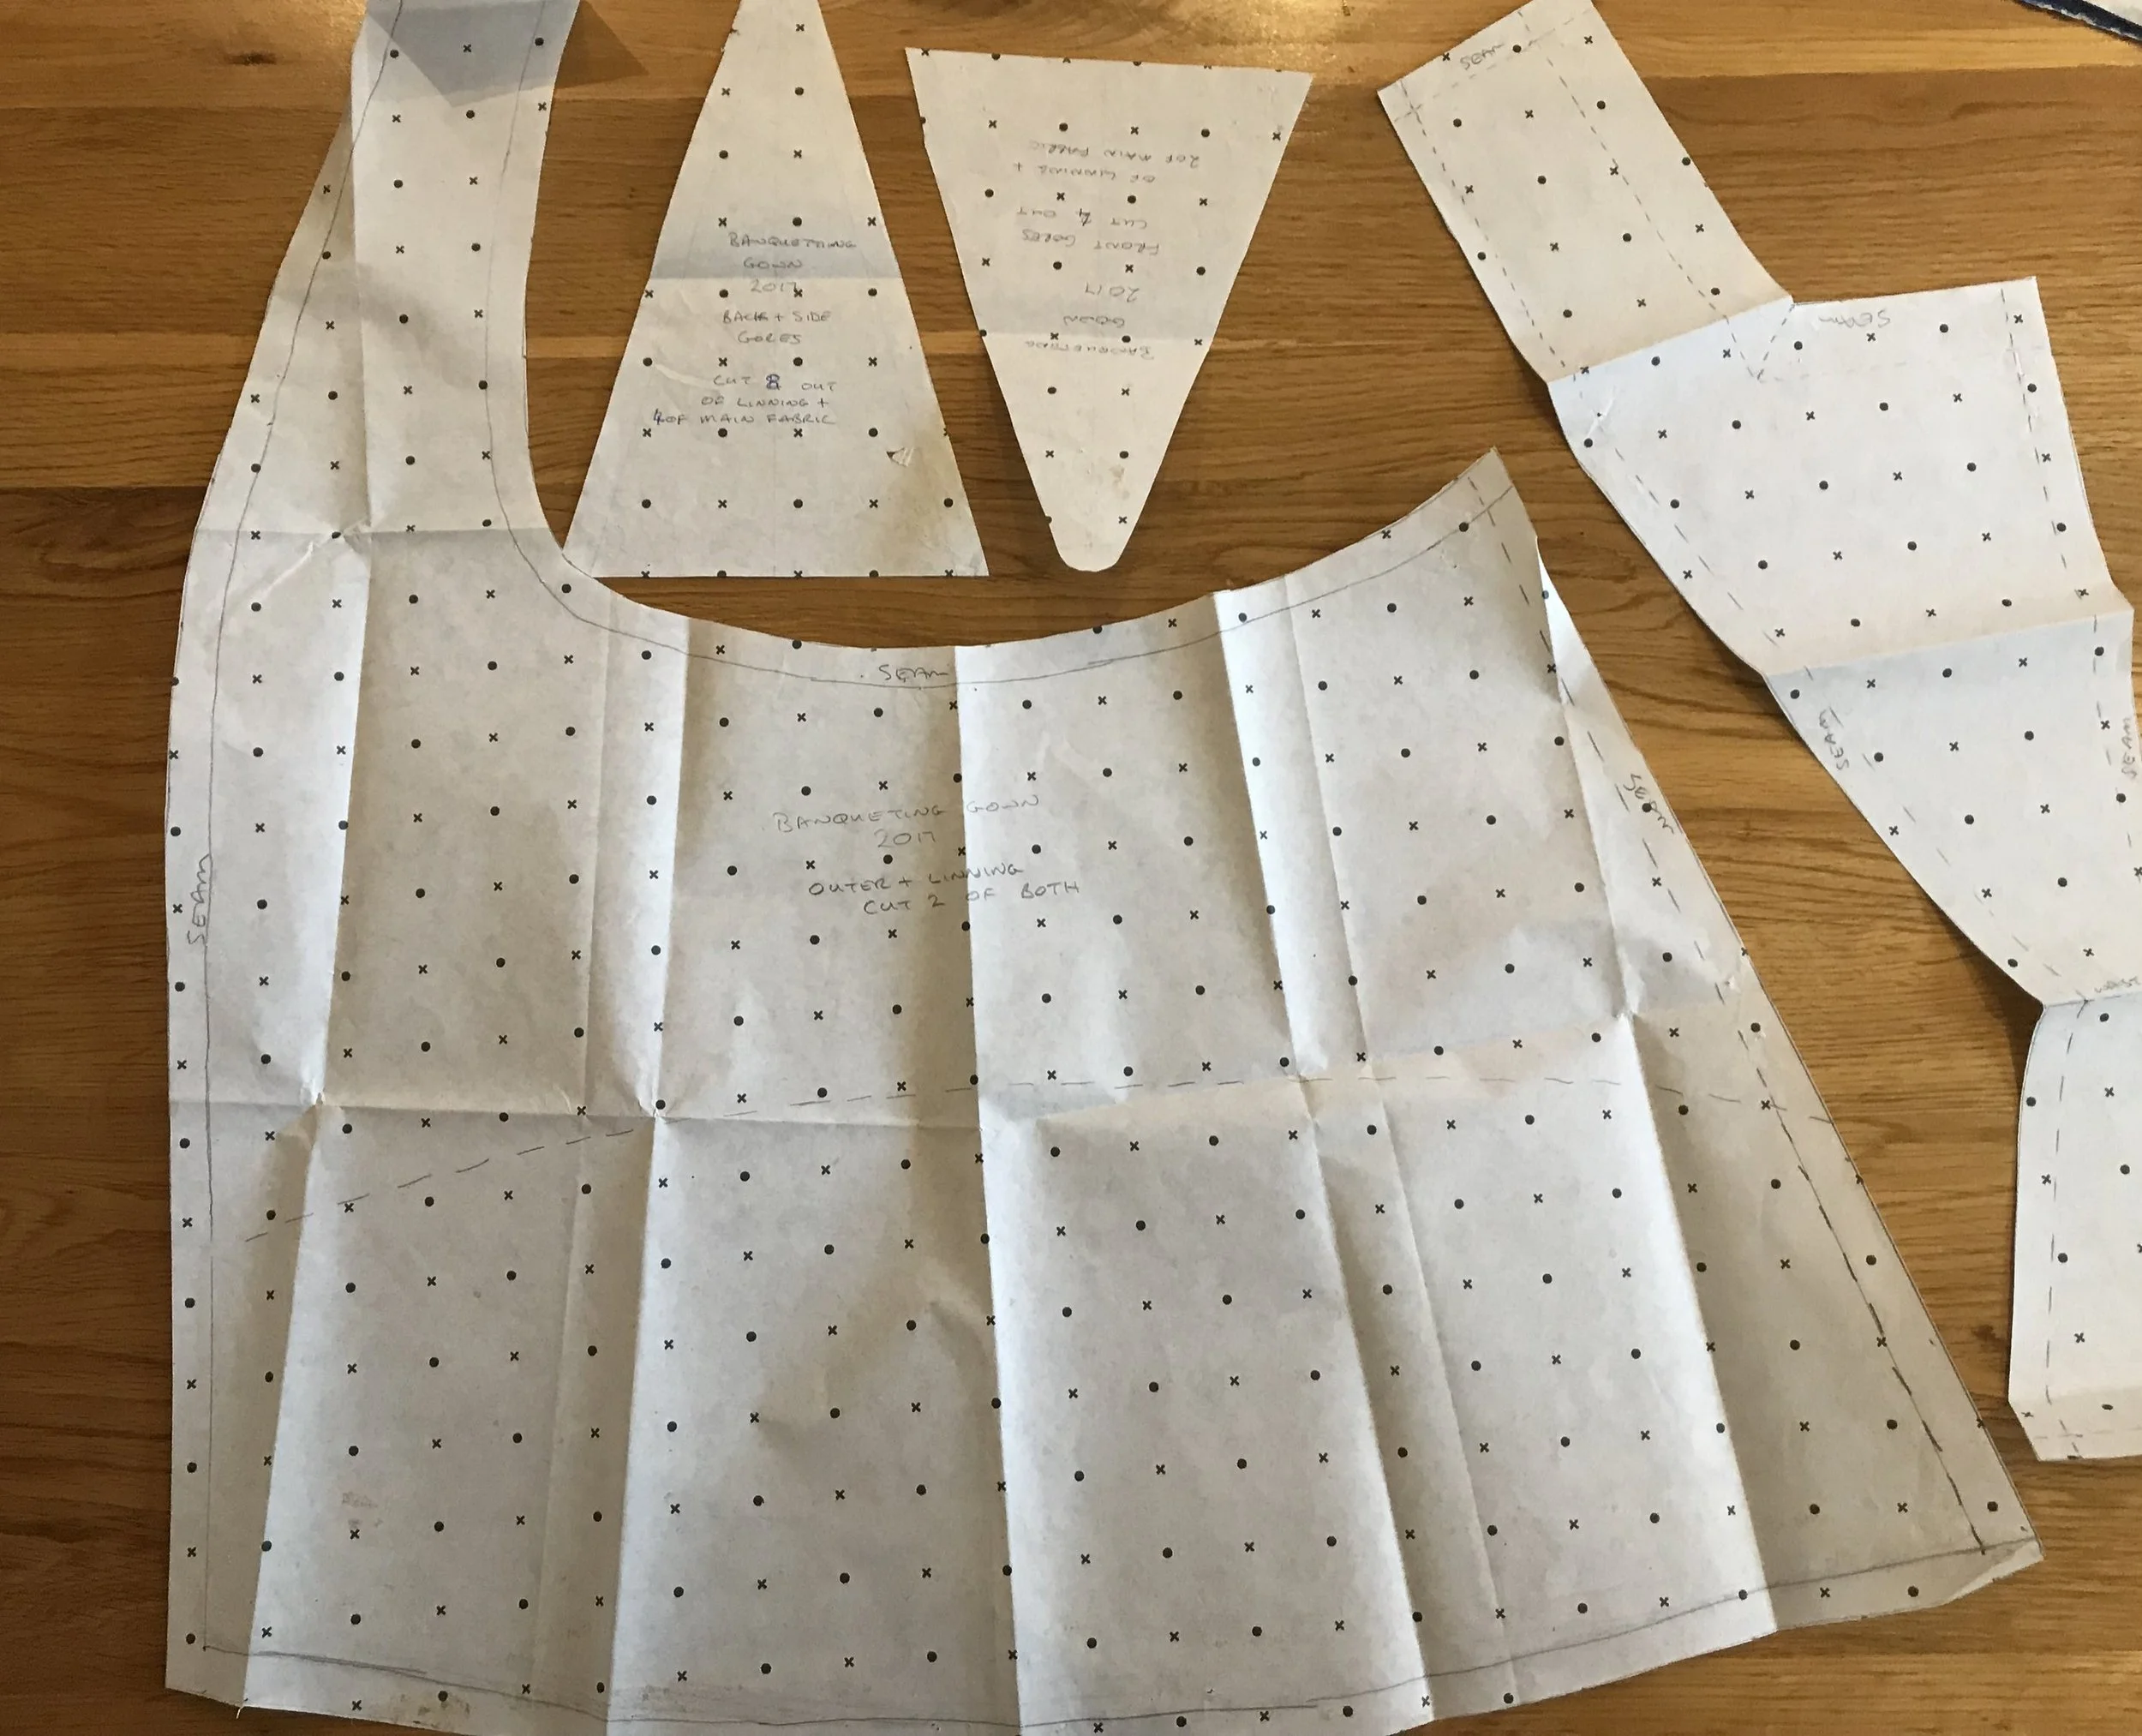
Details of the pattern pieces

All cut out and the layers stacked together for each piece. You can see pieces with overly large canvas interlining.
Next Time
The next post on this topic may not be next week, as I will be busy with a re-enactor’s market next weekend, but it will cover the start of the construction, using pad stitching to shape the layers and show how the pieces are coming together.
These posts are not meant to be tutorials, only an insight into what we are doing and learning. If you want more information, feel free to use the contact form on this website to let me know. If you want to order a made to measure version of the 1640 doublet pattern, please also use the contact form.